
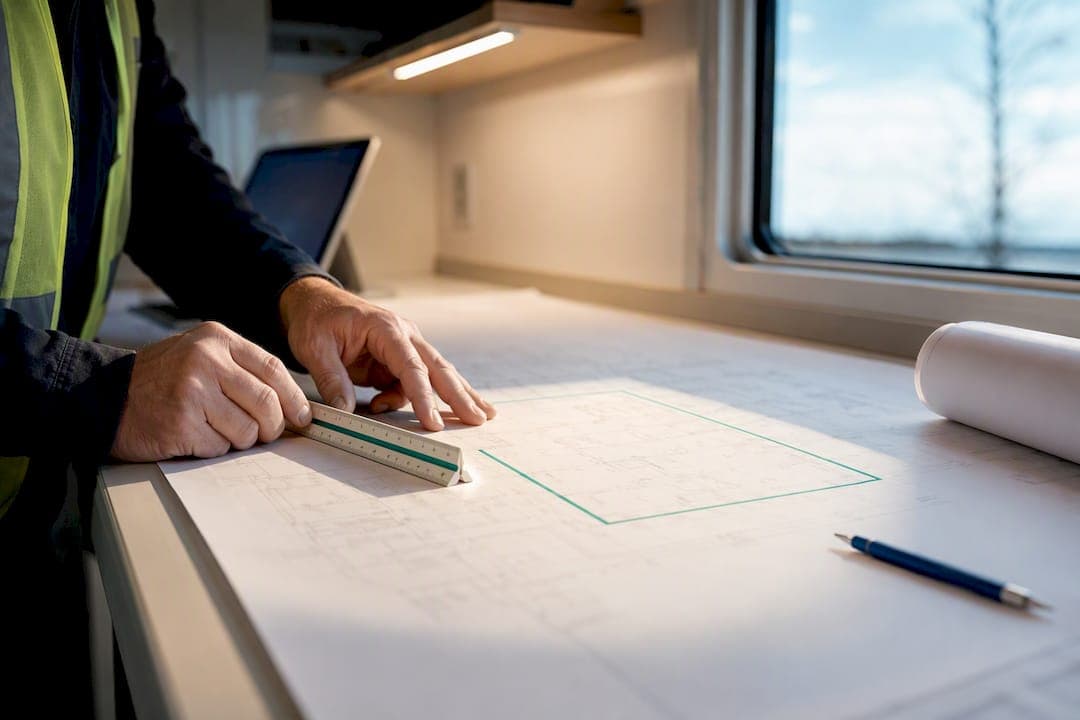
The fastest reliable way to run an area takeoff PDF workflow is to calibrate the sheet's scale, trace closed polygons around each area, subtract door and window openings, tag results by trade, then export to CSV, Excel, or an annotated PDF. This method works for flooring, drywall, roofing, and paint takeoffs alike, and the export becomes your audit trail when a change order shows up three months later.
TL;DR:
- Calibrate the scale against a known dimension before tracing to prevent compounding errors in all measurements.
- Use a true polygon tool, subtract openings accurately, and export data to CSV or Excel for better bid precision and auditability.
- Confirm the sheet's revision date and scale on multiple sheets to avoid errors from outdated or rotated plans.
- Rely on desktop, lightweight, or browser tools that support calibration, polygon measurement, deduction, and export features.
- Implement consistent labeling by trade, scope, and zone, and archive each revision separately to streamline change orders and prevent rework.
Table of Contents
- What Is an Area Takeoff From a PDF, and When Do You Need One?
- How Do You Do an Area Takeoff From a PDF Step by Step?
- Desktop Apps, Light Viewers, or Browser Tools: Which Fits Your Team?
- Common Takeoff Errors and How to Catch Them Before You Bid
- What Trade-Tested Habits Actually Save You Rework?
- Why Structured Takeoff Data Changes How Subs Bid
- Try Subascent's PDF Takeoff Tools on Your Next Bid
- Official Measurement Docs Worth Bookmarking
- Sources
- FAQ
What Is an Area Takeoff From a PDF, and When Do You Need One?
An area takeoff is the process of measuring square footage or linear footage directly from a scaled PDF plan set, so you can price material and labor without unrolling paper on a conference table. It matters most for scopes where quantity drives the bid: flooring, drywall, roofing, painting, ceilings, and slabs all live or die on square footage accuracy.
Get net versus gross area wrong and your bid is wrong before you finish typing it. Net area subtracts openings, columns, and other deductions. Gross area is the raw footprint before deductions. Most trades bid net area plus a waste factor, which can vary by material depending on pattern and cut layout requirements.
Keep your labeling consistent across every takeoff:
- Use square feet (SF) for area, linear feet (LF) for baseboard, trim, or roofing edge metal.
- Label each polygon by room or zone name, not just a number, so a PM reviewing the export later understands what they're looking at.
- Note the sheet number and revision date on every exported line item.
How Do You Do an Area Takeoff From a PDF Step by Step?
Every tool handles the interface differently, but the sequence never changes. Skip a step and you'll find out the hard way, usually after the bid is submitted.
- Open the correct sheet and revision. Sounds obvious. It's the single most common way estimators price the wrong job. Confirm the revision date in the title block matches what the GC actually issued.
- Confirm the printed scale or find a known dimension. Look for a scale bar or a labeled ratio (like 1/4" = 1'0"). If neither exists, find a dimension string on the drawing (a wall length, a door width) you can use as your reference.
- Calibrate the tool to that scale. Adobe Acrobat's measurement tools let you draw an area polygon and either apply an embedded scale ratio or calibrate manually against a known dimension. Foxit works the same way: pick the area tool, then either accept the embedded scale or draw a calibration line against a dimension you trust, per Foxit Reader's measurement guide.
- Set your units before you trace anything. Square feet for area, linear feet for perimeter items. Changing units mid-takeoff is how spreadsheets end up off by a factor of 12.
- Trace closed polygons using snap or grid assist. Most tools snap to wall lines or corners. Close every shape completely. An open polygon either won't calculate area or will calculate the wrong one.
- Subtract openings and tag by trade. Draw separate deduction polygons for windows, doors, and shafts, then subtract them from the gross figure. Assign each area a trade category (flooring, drywall, roofing) right in the tool if it supports layers or tags, since that's what lets you export data organized by scope, instead of one undifferentiated blob of numbers.
- Verify with a hand-check on three sample areas. Pick three rooms or zones, measure them independently with the printed dimensions, and compare against your polygon totals. Also flip through the sheet set for rotated pages or a scale that changes between sheets, which happens more often than anyone would like on multi-building projects.
- Export your measurements. Save as CSV or Excel for your estimating workbook, or save the annotated markups directly inside the PDF if you need a defensible audit trail for change orders and submittals.
Pro Tip: Before you trace a single polygon, measure one known wall on the drawing with your calibration tool and check it against the printed dimension. If it's off by more than a rounding error, stop and recalibrate. Everything you trace after that point inherits the same error.
Desktop Apps, Light Viewers, or Browser Tools: Which Fits Your Team?
There's no single right answer here. It depends on how often you run takeoffs and how many people on your team need access to the same file.
Full desktop takeoff applications earn their license fee on repeat work. They offer saved toolsets, dynamic fill features that calculate area automatically as you click inside a boundary, and direct exports to Excel that plug into an estimating template without reformatting. Bluebeam's takeoff workflows are built around exactly this: standardized tool sets and markup exports that cut manual entry and speed up repeat measurements across projects.
Lightweight PDF readers cover the basics without the subscription cost. They handle area and perimeter measurement, calibration, and annotation export, which is often all a smaller shop needs for occasional takeoffs.
Browser-based measuring tools are the right call for a quick spot check, not a full bid. You set a drawing scale, trace a shape, and get a number in under a minute with no install. Browser-based measure tools save results as annotations directly in the PDF, but confirm that persistence works the way you expect before relying on it for anything you'll need to revisit next week.
Whatever you pick, don't compromise on these four features:
- Scale calibration against a known dimension, not just an assumed default.
- A true polygon area tool, not just a rectangle or circle shape.
- Deduction support for subtracting openings.
- Export to CSV or Excel, plus persistent annotations you can reopen later.
Common Takeoff Errors and How to Catch Them Before You Bid
Wrong scale is the single biggest source of takeoff errors, and it's almost always caught too late, according to EzTakeoff's field guidance. A scale that's off by even a small margin compounds across every room on the sheet, and by the time you're totaling the estimate, the error has multiplied dozens of times over.
Run through this checklist before you finalize any takeoff:
- Recheck scale on at least two different sheets in the set, not just the first one you opened.
- Watch for rotated pages or a scale ratio that changes between floor plans.
- Confirm your unit settings match your template (SF vs. SY trips people up constantly on flooring).
- Look for doubled or overlapping polygons, especially after copying a shape to a similar room.
- Spot-check three rooms by hand against the printed dimensions.
A quick manual audit of just three rooms catches most scaling and tracing mistakes before they carry through the entire estimate. That five-minute check is cheaper than a change order fight six weeks into the job.
What Trade-Tested Habits Actually Save You Rework?
Save one master annotated PDF per revision, and export a separate CSV per trade scope rather than one giant mixed file. Name folders by bid number and GC name so anyone on the team can find the right version fast during a change-order dispute. Build templates for repeat scopes, standard bedroom sizes, typical roof sections, so you're not redrawing the same polygon on every job. If your work touches concrete slabs or CMU layouts specifically, the deduction and layering approach carries over almost exactly, and Subascent's guides on concrete takeoffs and CMU block layout takeoff walk through those scope-specific adjustments in more detail.

Why Structured Takeoff Data Changes How Subs Bid
Most estimators lose money on jobs not because they measured wrong, but because their takeoff data lived in someone's head or a napkin sketch instead of a file anyone else could check. A calibrated, tagged, exported takeoff turns a guess into a number your PM can defend against a GC six months later. That structure pays off twice: once in bid accuracy, and again when a change order shows up and you already have the deduction data to prove your original scope.
— Dave
Try Subascent's PDF Takeoff Tools on Your Next Bid
The PDF takeoff feature can be integrated into bid tracking and estimating workflows, allowing measurements to flow directly into your workbook instead of requiring reconciliation from a separate app.

Upload a plan set, calibrate a sample sheet, trace a few areas by trade, and export the results to CSV before you commit to anything. A trial run can help determine within about ten minutes whether the workflow fits how your estimators work, without needing to change your existing bid process. If it works well, you can continue using your existing login and add takeoff to the estimating tools in use. Start a trial and run your next takeoff at Subascent.
Official Measurement Docs Worth Bookmarking
For vendor-specific steps, see Adobe's measurement guide, Foxit's area tool help, and Bluebeam's takeoff support page.
Sources
FAQ
What Is an Area Takeoff?
An area takeoff is the process of measuring square footage from a scaled drawing, either paper or digital, to price material and labor for a bid. On a PDF, that means calibrating scale, tracing polygons, and subtracting openings before exporting the totals.
How Do I Measure Area in a PDF File?
Calibrate the drawing scale using a known dimension, select the area or polygon tool, trace a closed shape around the space you're measuring, then subtract any openings. Tools like Adobe Acrobat and Foxit Reader display the resulting square footage in a measurement panel once the polygon closes.
How Do I Do Takeoffs in Bluebeam?
Use Bluebeam's Measure tool set to select an area, perimeter, or count measurement, calibrate against the sheet's scale, and draw your boundaries. You can then export the Markups List to Excel to link quantities directly to your estimating spreadsheet, a workflow detailed in Bluebeam's takeoff documentation.
Is There Free Software for Lumber or Area Takeoffs?
Several browser-based tools and lightweight PDF readers offer free area measurement with basic calibration and export features, though they typically lack the saved toolsets and trade-tagging found in paid desktop applications. For ongoing estimating work tied to bid tracking, a platform like Subascent bundles takeoff with the rest of the estimating workflow instead of running it as a standalone step.
What File Formats Should I Export My Takeoff To?
Export to CSV or Excel when you need the numbers to flow into an estimating workbook, and save an annotated PDF copy when you need a visual audit trail for change orders or submittals. Keeping both versions, one numeric and one visual, covers you whether a dispute is about the quantity or about where the boundary was actually drawn.